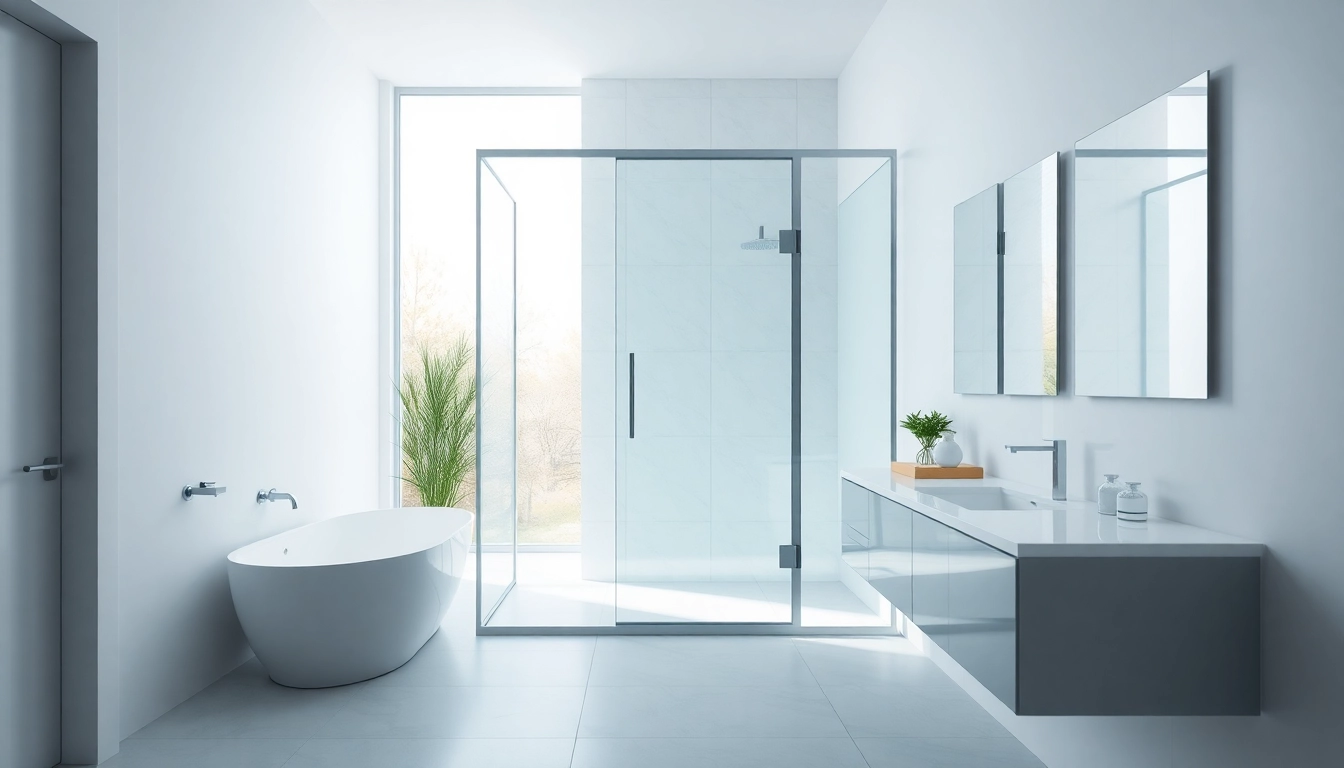
Understanding Shower Screen Sliding Door Options
Shower screen sliding doors have become an essential feature in modern bathrooms, combining functionality with aesthetics. With a variety of options available, choosing the right shower screen sliding door can significantly enhance the overall look and feel of your space. Let’s explore the different types, benefits, and materials of shower screen sliding doors to help you make an informed decision.
Types of Shower Screen Sliding Doors
When it comes to shower screen sliding doors, there are several types available that cater to different needs and preferences. Each type offers unique benefits:
- Frameless Sliding Doors: These doors feature a sleek, minimalist design that provides an unobstructed view and a modern aesthetic. Frameless doors are often made from thick tempered glass and are perfect for contemporary bathrooms.
- Framed Sliding Doors: Constructed with a metal frame, these doors offer added durability and support. They are available in various finishes to match your bathroom decor and are often more budget-friendly.
- Bi-Fold Sliding Doors: This type combines the functionality of a sliding door with a folding mechanism. Bi-fold doors are ideal for smaller spaces as they can be opened fully, minimizing the required footprint.
- Magnetic Closure Sliding Doors: These doors come equipped with magnetic seals that ensure a snug fit when closed. This feature helps to prevent leaks and maintain a clean bathroom environment.
Benefits of Shower Screen Sliding Doors
Shower screen sliding doors provide numerous advantages that contribute to their popularity among homeowners:
- Space-Saving: Unlike traditional swing doors, sliding doors do not require extra space to open. This feature is particularly beneficial in smaller bathrooms.
- Easy Access: Sliding doors glide smoothly on tracks, making it easier to enter and exit the shower area, especially for individuals with mobility challenges.
- Enhanced Aesthetics: Available in various styles, shower screen sliding doors can elevate the visual appeal of your bathroom, complementing its overall design theme.
- Low Maintenance: These doors are typically easier to clean than shower curtains and do not harbor mold or mildew, contributing to a more hygienic environment.
- Water Retainment: When installed correctly, sliding doors effectively keep water contained within the shower area, reducing the risk of slippery floors outside the shower.
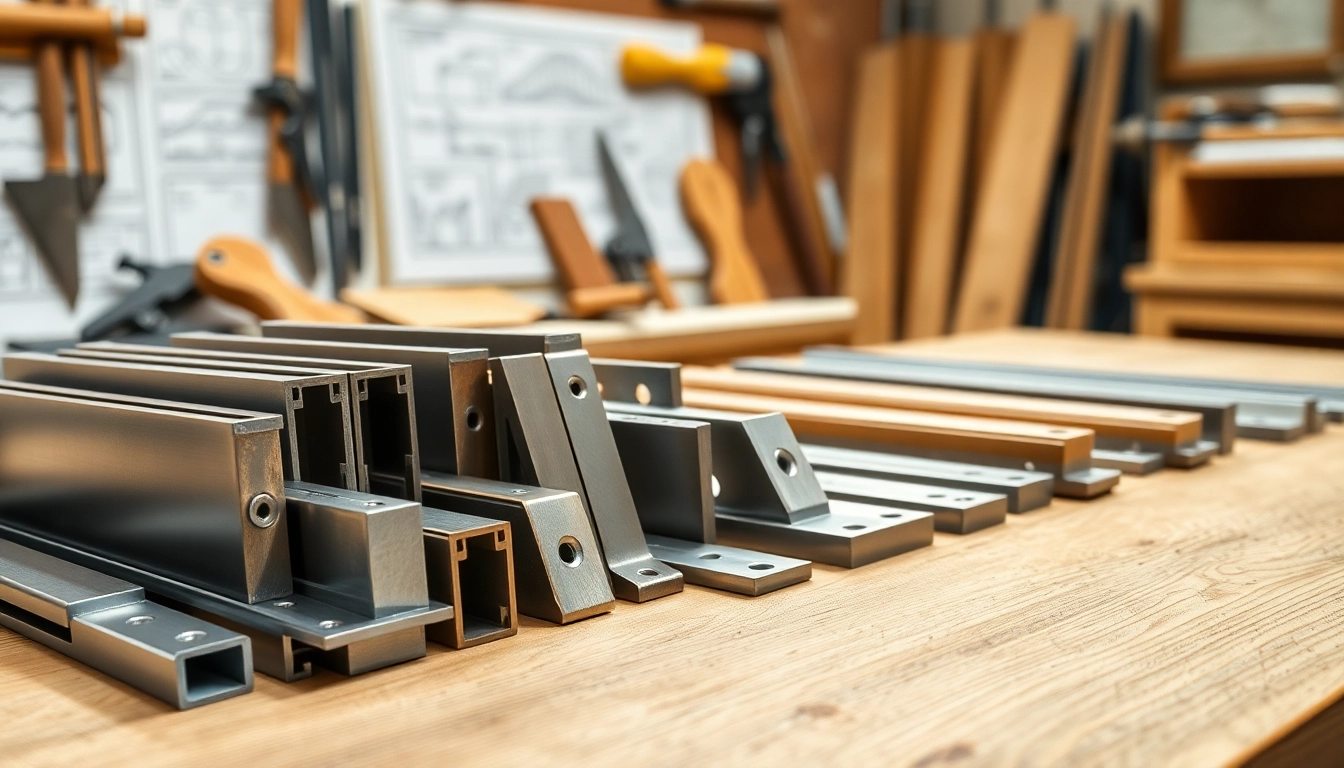
Materials Used in Shower Screen Sliding Doors
The materials used to construct shower screen sliding doors significantly impact their durability, appearance, and maintenance. Here are the most common materials:
- Tempered Glass: This is the most popular material for shower screens due to its strength and safety features. Tempered glass is highly resistant to thermal shock and shattering, providing peace of mind.
- Plastic: Often chosen for budget-friendly options, plastic doors are lightweight and easy to install. However, they may not offer the same level of durability or elegance as glass.
- Aluminium Frames: Many sliding doors feature aluminium frames, which are lightweight, strong, and resistant to corrosion. They can be finished in various colors for aesthetic appeal.
- Stainless Steel: For a premium look, stainless steel components provide durability and resistance to rust. These are often found in high-end designs.
Measuring for Your Shower Screen Sliding Door
Getting the right measurements is crucial to ensure that your shower screen sliding door fits perfectly. Proper measurements prevent costly mistakes and ensure a seamless installation.
Key Measurements to Consider
There are several measurements that you must pay attention to when selecting your shower screen sliding door:
- Height: Measure the height from the shower curb to the ceiling or exact opening height. Ensure you take into account the difference in height if you have a sloped ceiling.
- Width: Measure the width at the top and bottom of the shower opening, as these dimensions can vary. It is wise to use the smallest measurement to ensure a proper fit.
- Depth: If you are considering a bi-fold sliding door, measure the shower depth to ensure you have enough space for the door to open fully.
- Clearance Space: Determine the amount of space available outside the shower enclosure to accommodate the sliding mechanism without obstruction.
Common Installation Mistakes
Even small errors in measurement or installation can lead to significant problems. Here are some common mistakes to avoid:
- Incorrect Measurements: Always double-check your measurements and consider the dimensions of any tiles or fixtures that may protrude into the path of the sliding door.
- Poor Leveling: If the shower base is not level, the sliding door may not operate correctly. Use a level to check your installation surface.
- Ignoring Water Draining: Ensure that the shower is designed to drain effectively, as improper drainage can lead to water pooling around the door.
- Faulty Track Installation: Ensure that the sliding track is level and securely installed to prevent misalignment and operational issues.
Tools Needed for Installation
Having the right tools is crucial for a successful installation of your shower screen sliding door. Here’s a list of essential tools you’ll need:
- Measuring tape
- Level
- Drill and drill bits
- Screwdriver
- Utility knife
- Silicone adhesive or caulk
- Safety goggles and gloves
Installation Process for Shower Screen Sliding Doors
Proper installation is key to ensuring the longevity and functionality of your shower screen sliding door. Here’s a step-by-step guide to follow:
Step-by-Step Installation Guide
- Prepare the Area: Ensure the shower area is clean and free from debris. Remove any old shower curtains or doors if necessary.
- Measure and Mark: Use a measuring tape to mark the exact positions for the tracks based on your previously noted measurements.
- Install the Track: Begin by drilling holes and securely attach the top sliding track to the wall. Ensure it is level for smooth operation.
- Attach the Bottom Track: Alike the top track, mark and install the bottom track, ensuring that it is perfectly aligned with the top track.
- Install Doors: Hang the doors on the top track first, then fit them into the bottom track. Ensure the doors slide effortlessly.
- Add Handles: Once the doors are secured, attach the handles for ease of operation.
- Seal Edges: Apply a bead of silicone around the edges to prevent leaks and secure the doors in place.
- Test Operation: Open and close the doors to ensure they operate smoothly and make any necessary adjustments.
Safety Precautions During Installation
While installing your shower screen sliding door, it’s essential to take the following safety precautions:
- Always wear safety goggles and gloves when handling glass and power tools.
- Ensure your workspace is clear and that you’re not working on wet surfaces to prevent slips.
- Have a helper present if the door is large or heavy to avoid injury from trying to lift it alone.
- Be cautious with sharp edges of glass when handling and installing.
When to Hire a Professional
If you encounter any of the following situations, it may be best to consult a professional:
- If you are uncomfortable with DIY installations and lack experience with home improvement projects.
- When dealing with complex plumbing or tiling work that requires professional knowledge.
- If you have an unusually shaped shower space that doesn’t align with standard door sizes and types.
- When you want to ensure a flawless finish and proper sealing to prevent leaks and future issues.
Maintaining Your Shower Screen Sliding Door
To keep your shower screen sliding door in prime condition, regular maintenance is essential. Here are key tips to ensure longevity:
Cleaning Tips for Longevity
Regular cleaning helps to prevent the buildup of soap scum and hard water stains. Here are effective cleaning tips:
- Use Gentle Cleaners: Avoid abrasive brushes and chemical cleansers. Instead, use a mixture of vinegar and water or a specialized glass cleaner.
- Soft Cloths: Use microfiber cloths to wipe down glass surfaces. They are effective in removing grime without scratching.
- Clean Frequently: Wipe down your shower doors after each use to prevent hard water deposits from forming.
- Focus on Tracks: Keep the door tracks clean and free of debris to ensure smooth sliding mechanics.
Common Issues and Solutions
Over time, you may face some common issues with your sliding door. Here’s how to address them:
- Doors Stuck or Misaligned: Check for any obstructions in the track. Realignment may be necessary if the door is misaligned.
- Water Leaks: Inspect the seals and silicone caulking around the edges. Reapply silicone if you find gaps.
- Rust on Frames: If your door has metal frames, apply rust-inhibiting paint and wipe clean regularly to prevent corrosion.
- Noise When Sliding: Lubricate the tracks with a silicone spray to eliminate squeaks or resistance during operation.
Best Products for Maintenance
Investing in the right cleaning and maintenance products can extend the life of your shower screen sliding door:
- Gentle Glass Cleaners: Specialized glass cleaners help to maintain clarity without damaging surfaces.
- Sealants: Use silicone sealants for long-lasting watertight seals around edges.
- Microfiber Towels: Essential for achieving streak-free surfaces without scratching glass.
- Track Lubricants: Look for silicone or graphite-based lubricants designed for sliding doors.
Choosing the Right Style for Your Bathroom
The style of your shower screen sliding door can greatly affect your bathroom’s overall appeal. Here’s how to choose the right design:
Modern vs. Traditional Designs
Your choice between modern and traditional designs depends on the existing decor of your bathroom:
- Modern Designs: Opt for clean lines, frameless options, and clear glass for a contemporary, open feel.
- Traditional Designs: Consider framed glass doors with ornate detailing or patterned glass for a classic touch.
Color and Finish Options
Shower screen sliding doors are available in various colors and finishes, allowing customization:
- Clear Glass: Ensures a spacious feel and works well with all styles.
- Frosted Glass: Provides privacy while diffusing light; an excellent choice for shared bathrooms.
- Textured Finishes: Adds aesthetic appeal and can mask water spots and stains.
- Frame Finishes: Choose between chrome, brushed nickel, matte black, or white to match hardware and fixtures.
Complementing Other Bathroom Features
Your sliding door should integrate seamlessly with other bathroom elements:
- Tiles and Flooring: Coordinate with the bathroom tile and flooring design to create a cohesive look.
- Vanity and Fixtures: Match the style and finish of the sliding door with bathroom vanities and hardware.
- Lighting Considerations: Ensure that the choice of glass helps in maximizing natural light or complements artificial lighting to enhance the space.
Frequently Asked Questions
1. How much space is needed for shower screen sliding doors?
Typically, you’ll need at least a few inches of clearance on one side for the door to slide open without obstruction.
2. Can shower screen sliding doors be installed in a small bathroom?
Yes, sliding doors are ideal for smaller spaces as they do not require additional space to swing open.
3. Are sliding shower doors easy to clean?
Yes, they are generally easier to clean than traditional shower curtains, especially if made of tempered glass.
4. What is the main advantage of using tempered glass?
Tempered glass is stronger and safer than regular glass; it breaks into small, blunt pieces instead of sharp shards if it shatters.
5. How often should I clean my shower screen?
To prevent buildup of grime, aim to clean the shower screen weekly or after each use to maintain clarity and shine.